Unfastening a connecting rod from a crankshaft is a task of utmost precision and attention to detail. It forms an integral part of engine repair and maintenance, whether you’re an auto mechanic or a car enthusiast willing to get your hands dirty. This guide will walk you through the process while highlighting the importance of each step in preserving the functionality of your engine.
The Vital Function of a Connecting Rod in Engine Performance
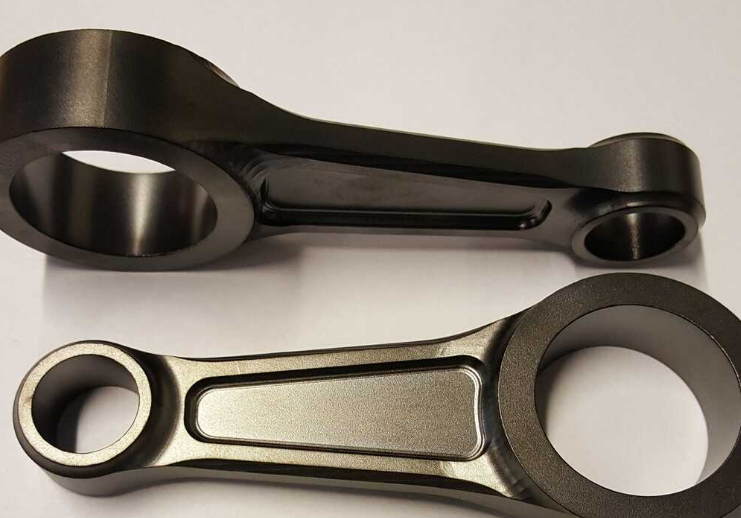
The connecting rod is a pivotal component of an internal combustion engine. It forms a critical linkage between the piston and the crankshaft, converting the reciprocating motion of the piston into the rotational motion of the crankshaft, powering the vehicle. It’s often necessary to remove the connecting rod from the crankshaft during engine repairs, overhauls, or when replacing worn parts.
Understanding the Significance of the Connecting Rod
Before we delve into the actual removal process, it’s beneficial to comprehend the implications of inappropriate removal or installation of the connecting rod. Mistakes in the process can lead to engine performance issues, such as decreased fuel efficiency, loss of power, or in severe cases, complete engine failure. Therefore, it’s of utmost importance to follow the correct procedure.
Tools Required for Connecting Rod Removal
To remove a connecting rod, you need several tools: a crankshaft turning tool to rotate the crankshaft, a rod bolt socket for bolt removal, and a bearing scraper to remove the old bearing material. Furthermore, you’d need a torque wrench to ensure proper torque is applied during the bolt removal process.
Process of Disconnecting the Connecting Rod
To remove the connecting rod from the crankshaft, the engine must be disassembled until you gain access to the connecting rod bolts. Carefully loosen and remove these bolts with the help of the torque wrench, ensuring no damage is done to the threads. The cap can then be removed, followed by the bearing halves. At this point, the connecting rod can be carefully slid off the crankshaft journal.
Cautions to Heed During the Removal
When removing the connecting rod, care must be taken to not score or damage the crankshaft journal. Any damage can have severe implications on the performance and life of the engine. It’s also crucial to keep track of which connecting rod corresponds to which cylinder, as they must be reinstalled in the same position.
Deepening Your Understanding of Engine Maintenance
Properly removing a connecting rod from a crankshaft is an essential step in various engine repair scenarios. Whether you are a seasoned auto mechanic, a passionate DIYer, or just a car owner looking to expand your knowledge, understanding this process can be an essential tool in your kit for comprehensive vehicle maintenance.